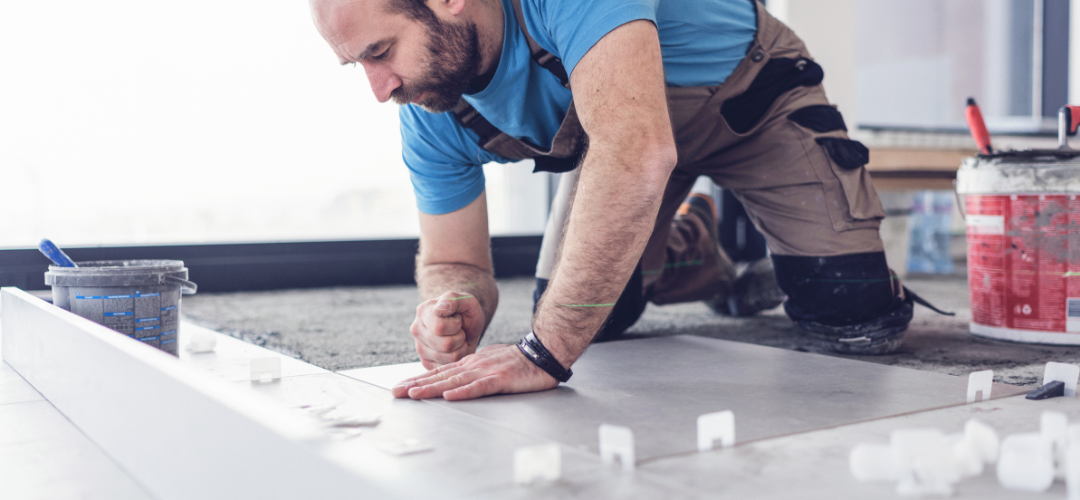
Mastering tile installation is a skill that combines artistry with precision. One of the most critical aspects of getting this right is ensuring even spacing and level tiles, which is where plastic tile spacers and shims come in. These small but mighty tools can make a huge difference in the outcome of your tiling project. In this comprehensive guide, we’ll walk you through the process of using plastic tile spacers and shims effectively, reflecting Packers Direct’s commitment to providing practical, user-friendly construction solutions.
The Importance of Tile Spacers and Shims in Tile Installation
The key to a professional-looking tile job is consistency and accuracy. Tile spacers help maintain equal distances between tiles, ensuring a symmetrical layout and uniform grout lines. Shims, on the other hand, are used to level tiles, especially useful in cases where the surface beneath the tiles is uneven. Using these tools correctly can prevent lippage (variations in the height of adjoining tiles), which not only affects the aesthetics but can also be a tripping hazard.
Choosing the Right Plastic Tile Spacers and Shims
Packers Direct offers a variety of plastic tile spacers and shims, suitable for different tile sizes and types (available at Packers Direct Products). When selecting these tools, consider the following:
- Tile Spacer Size: The size of the spacer depends on the size of the tile and the desired width of the grout lines. Larger tiles generally require larger spacers.
- Shim Thickness and Flexibility: Choose shims that can be easily adjusted to achieve the desired level, particularly in cases of uneven surfaces.
- Material Durability: Ensure that the plastic used in both spacers and shims is durable and capable of withstanding the weight of the tiles.
Step-by-Step Guide to Using Tile Spacers and Shims
- Surface Preparation: Before starting, ensure that the surface is clean, level, and dry.
- Planning the Layout: Dry lay the tiles to plan the layout. This step helps you determine the number of tiles needed and where cuts are required.
- Applying Adhesive: Spread tile adhesive on the surface using a notched trowel. Work in small sections to prevent the adhesive from drying out.
- Placing the Tiles: Set the tiles into the adhesive, gently pressing them in place. Insert tile spacers at the corners of each tile to maintain uniform gaps.
- Leveling Tiles with Shims: Check the level of the tiles. If a tile is higher or lower than its neighbors, adjust its height using shims.
- Continuing the Process: Continue laying tiles, inserting spacers, and adjusting with shims as needed until the entire area is tiled.
- Removing Spacers and Shims: Once the adhesive has set (usually after 24 hours), carefully remove the spacers and shims.
- Grouting: Apply grout in the gaps between the tiles, using a grout float to press it into the spaces and remove excess grout.
- Final Cleaning and Sealing: After the grout has dried, clean the surface of the tiles and seal the grout if necessary.
Additional Tips for a Successful Tile Installation
- Always Buy Extra: Purchase extra tiles and spacers to account for cuts and breakages.
- Patience is Key: Tile installation is not a rush job. Take your time to ensure each tile is correctly placed and leveled.
- Regular Checks: Frequently use a level to check the alignment of the tiles as you progress.
- Adhesive and Grout Choice: Use the right type of adhesive and grout for your specific tiles and installation area (e.g., waterproof grout for bathrooms).
Advanced Techniques in Tile Installation
Tile installation is not just about sticking tiles to a surface. It’s an art that requires understanding of various advanced techniques. For example, the back-buttering technique, where adhesive is applied directly to the back of the tile in addition to the substrate, can provide a stronger bond and help in leveling tiles.
Dealing with Challenging Layouts
In rooms with irregular shapes or around fixtures, tile cutting and fitting become more complex. Utilizing tile nippers, wet saws, or manual tile cutters can help achieve precise cuts. Practice and patience are key when dealing with intricate layouts or special tile materials like glass or porcelain.
Environmental Considerations
Using environmentally friendly materials and methods is increasingly important. Packers Direct’s commitment to sustainability is reflected in our selection of eco-friendly tile spacers and shims. These products not only perform exceptionally but also align with green building practices.
Maintenance and Longevity
Post-installation care of tiles is crucial for maintaining their appearance and longevity. Regular cleaning with appropriate products, resealing grout lines when necessary, and promptly addressing any loose or cracked tiles can extend the life of your tile work.
Conclusion
Using plastic tile spacers and shims effectively is crucial for a successful tile installation project. These tools help in achieving a professional, aesthetically pleasing finish that is both safe and durable. For a wide range of high-quality tile spacers, shims, and other tiling tools, visit Packers Direct Products. Our products are designed to ensure precision and ease, living up to the Packers Direct promise of reliable, efficient construction solutions.
Craftsmanship Meets Global Standards
Unlock Precision with ISO-Certified Excellence! Explore our Premium Range of Shims, Packers, and Plastic Moulding Today.


