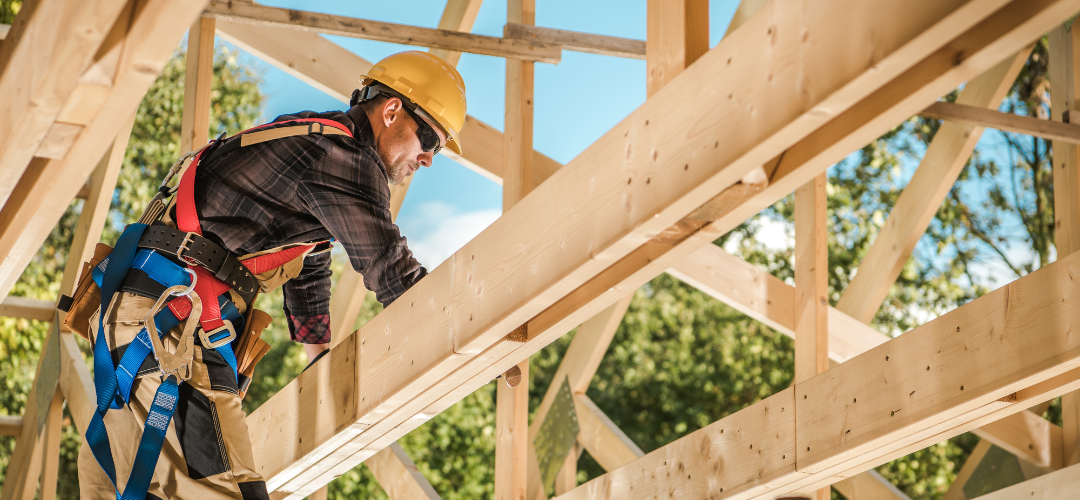
The Essential Role of Plastic Shims in Timber Framing
Shims are small, often wedge-shaped pieces used in construction to fill slight gaps or spaces between objects, aiding in precise alignment and support. In timber framing, the alignment and level of each element are crucial for both the aesthetic and structural integrity of the project. Plastic shims, compared to traditional wooden shims, offer several significant advantages:
- Enhanced Durability: Plastic shims are impervious to the elements, which means they don’t warp, rot, or degrade over time, unlike wood.
- Precision and Versatility: Available in a variety of thicknesses, plastic shims allow for incremental adjustments, enabling more precise alignment.
- Ease of Use: Lightweight and easier to manipulate, plastic shims can be inserted, adjusted, or removed with minimal effort, making them ideal for DIY projects.
Comprehensive Guide to Using Plastic Shims in Timber Framing
Step 1: Gathering Tools and Materials
Before starting, it’s important to have all the necessary tools and materials. This includes the timber frames or beams, a variety of plastic shims from Packers Direct, a level, a hammer or mallet, and a saw for trimming shims.
Step 2: Positioning the Timber Frame
Place your timber frame or beams in the desired location. This could be part of a deck, a garden structure, or an element of a building.
Step 3: Assessing Level and Alignment
Use a level to check the alignment and level of the timber frame. Look for areas where the frame is not level or where there are gaps.
Step 4: Inserting Plastic Shims
Identify where adjustments are necessary and insert plastic shims in these areas. Start with a thicker shim and tap it gently into place. Be careful to avoid damaging the timber or shim.
Step 5: Adjusting for Precision
After inserting the shims, recheck the level. Make further adjustments by adding more shims or trimming the existing ones for a finer fit.
Step 6: Securing the Timber Frame
Once everything is aligned and level, secure the frame in place. This may involve various methods of fastening, depending on the nature of your project.
Step 7: Trimming and Finishing
Trim any protruding parts of the shims for a clean finish. This step is important for both aesthetic and safety reasons.
The Advantages of Plastic Shims in DIY Projects
Choosing plastic shims for your timber framing project offers several benefits:
- Structural Integrity: Correct alignment and leveling are vital for the structural integrity of your build. Plastic shims help ensure this precision.
- Installation Ease: Their design allows for swift adjustments, a significant advantage for DIY projects.
- Long-Term Reliability: Plastic shims resist environmental factors that affect wood, ensuring long-term stability and performance.
Practical Tips for Timber Framing with Plastic Shims
- Measure Twice, Shim Once: Always double-check measurements before making adjustments.
- Select the Right Shim Size: Use the appropriate thickness of shim for the gap you’re filling to minimize the need for trimming.
- Maintain Safety: When trimming shims or working with timber, always wear appropriate safety gear.
- Consider Aesthetics: While functionality is crucial, consider how the shims will look once the project is completed.
- Seek Quality Materials: Invest in high-quality timber and shims from reliable suppliers like Packers Direct to ensure the best outcome.
Conclusion
Timber framing is more than just a construction technique; it’s a craft that requires precision, patience, and the right materials. Plastic shims, though small in size, play a crucial role in ensuring that your DIY timber framing project is not only structurally sound but also aesthetically pleasing. They bridge the gap between traditional craftsmanship and modern DIY needs, making them indispensable in any timber framing project.
At Packers Direct, we are committed to providing the highest quality materials for your construction needs. Our range of plastic shims is specifically designed to meet the demands of various construction projects, ensuring durability, precision, and ease of use. Visit our product page to explore our selection and take the first step towards a successful and satisfying DIY timber framing project.


